

Minnesota fall home maintenance is easier when you start before freezing weather limits your options. Sprinkler systems need winterizing, gutters need cleaning, and snow-removal plans need to be ready before the first storm. Fall is also your opportunity to spot drainage problems, seal drafts, and put outdoor equipment away properly.
For homeowners in Shoreview, Blaine, Lino Lakes, Hugo, Forest Lake, White Bear Lake, and the surrounding Northeast Metro, a practical approach is to schedule professional services first. Then use the remaining mild days to work through outdoor projects.
This guide focuses on the fall jobs that prepare your property for winter. For furnace service, fireplace preparation, alarm testing, and cold-weather safety, read our Essential Home Maintenance Tips for the Start of Minnesota Winter.
When to Start Your Minnesota Fall Home Maintenance Checklist

Begin booking seasonal services in early fall. Do not wait for freezing temperatures to arrange sprinkler winterization or for a snowstorm to find someone who can clear the driveway.
Use the weather forecast and your property’s conditions to set priorities. Outdoor water systems need attention before freezing weather can damage them. Gutter cleaning depends partly on when nearby trees drop their leaves. Caulking and other exterior repairs need temperatures suitable for the products you use.
A useful order is to book appointments, complete freeze-sensitive tasks, address drainage and exterior repairs, and finish storage and snow preparation. You can spread the work across several weekends rather than trying to handle everything at once.
1. Book Sprinkler Winterization Before Freezing Weather
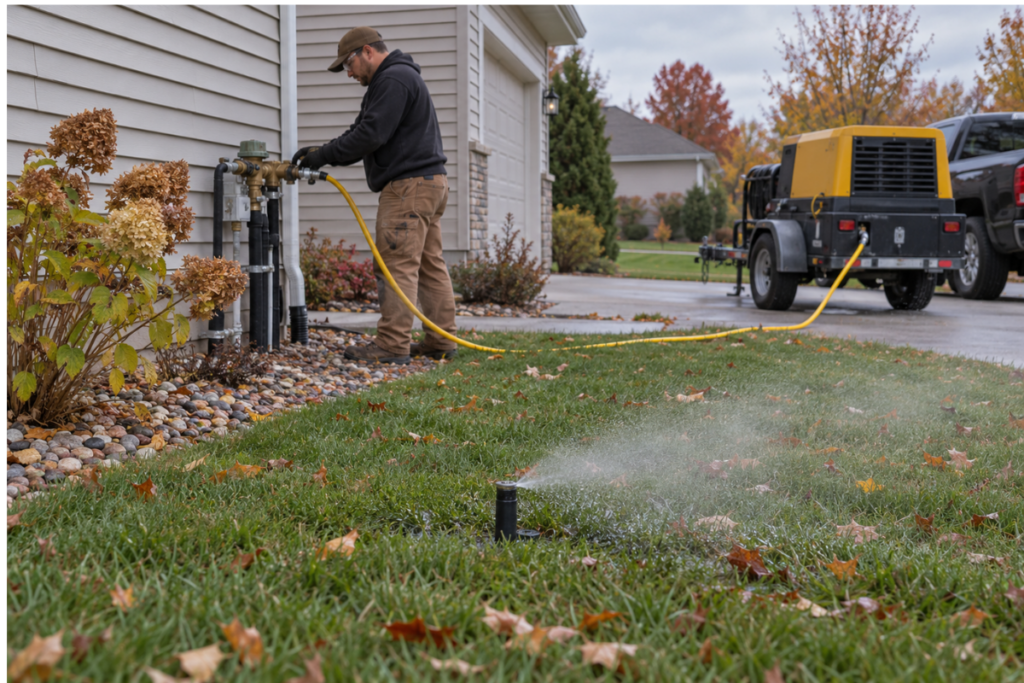
Turning off the sprinkler controller does not remove water from the irrigation system. Water trapped in pipes, sprinkler heads, valves, or the backflow assembly can freeze and damage those components.
Ask an irrigation professional which winterization method your system requires. Many systems need a compressed-air blowout, while others use a designed drainage procedure. Winterization should account for the backflow assembly and any other components that need separate attention.
This is a good job to schedule with someone who knows your equipment. Both compressor airflow and pressure matter. Incorrect blowout procedures can damage the system or cause injury. Schedule professional winterization if you are unfamiliar with the procedure or do not have the right equipment.
Before booking, ask:
- Does the service include every irrigation zone and the backflow assembly?
- Will the technician need access to an indoor shutoff valve?
- Should you make any preparations before the appointment?
- How should the controller be set afterward?
Record the completion date and company contact information. Having those details ready makes next year’s appointment easier to arrange.
2. Disconnect Hoses and Drain Outdoor Faucets
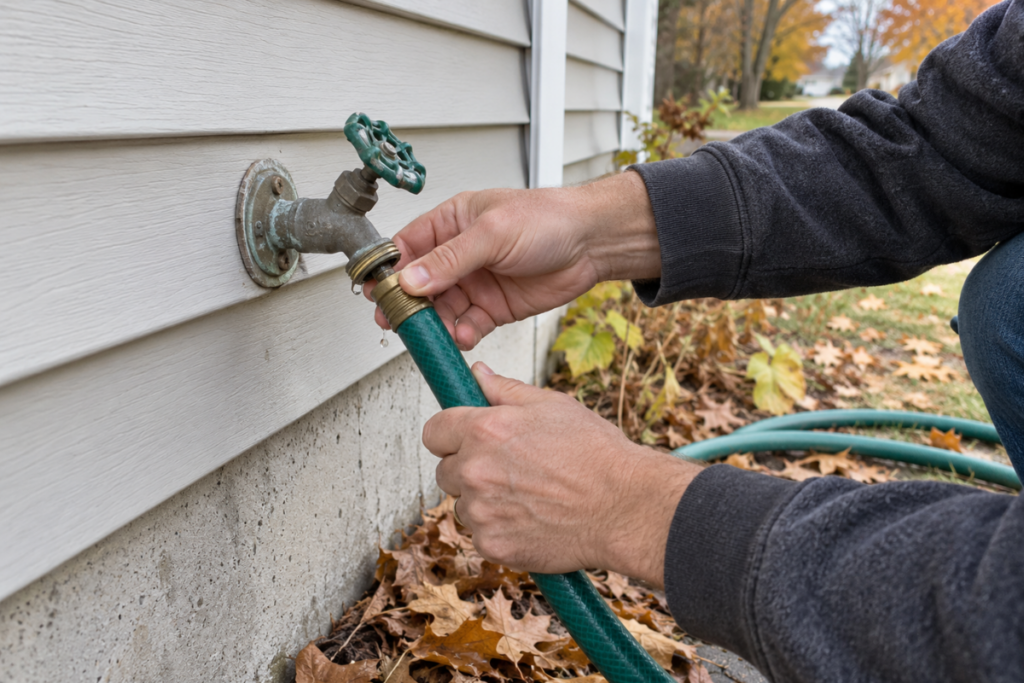
If an outdoor faucet has a dedicated indoor shutoff valve, close it and drain the exterior section according to its instructions. Frost-free faucets also need hoses disconnected so they can drain properly.
Check for dripping faucets or damaged connections while you work. If you do not know whether a faucet drains correctly, ask a plumber. A faucet cover should not replace the winterization your particular faucet requires.
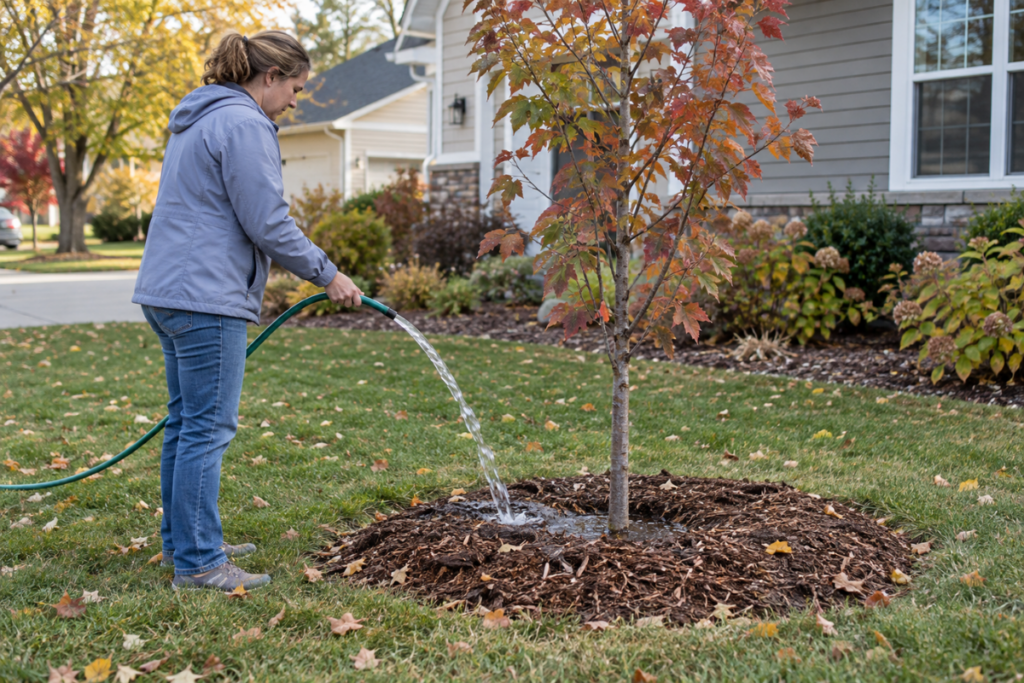
If you water newly planted trees later in the fall, disconnect and drain the hose again afterward. It is easy to reconnect one for a final watering and forget it until temperatures drop.
3. Clean Gutters and Follow the Downspout Drainage Route
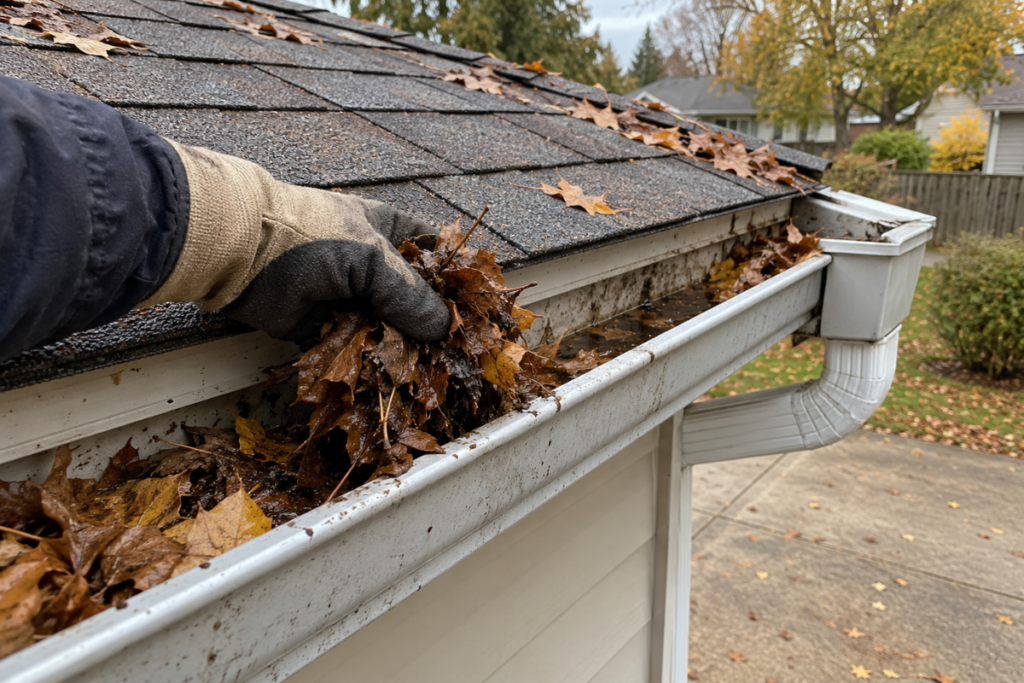
Remove leaves, seed pods, and other debris from gutters and downspouts. Check for loose connections, sagging sections, and places where water spills over during rain. If trees continue dropping leaves, inspect the gutters again after your first cleanup.
Next, look at where each downspout empties. Water should move away from the foundation rather than collect beside the house. Reconnect displaced extensions and check that splash blocks direct water toward an appropriate drainage route.
Avoid sending runoff across steps or sidewalks where it could freeze. Also check whether extensions have become crushed, clogged, or disconnected during summer yard work.
Roof runoff and poor surface drainage can contribute to basement moisture. Gutter maintenance is most useful when the entire drainage route works, not just the gutter itself.
If the job involves an unsafe ladder position or a difficult roofline, hire a service rather than reaching beyond a stable working area.
4. Check Window Wells and Low Spots Around the House
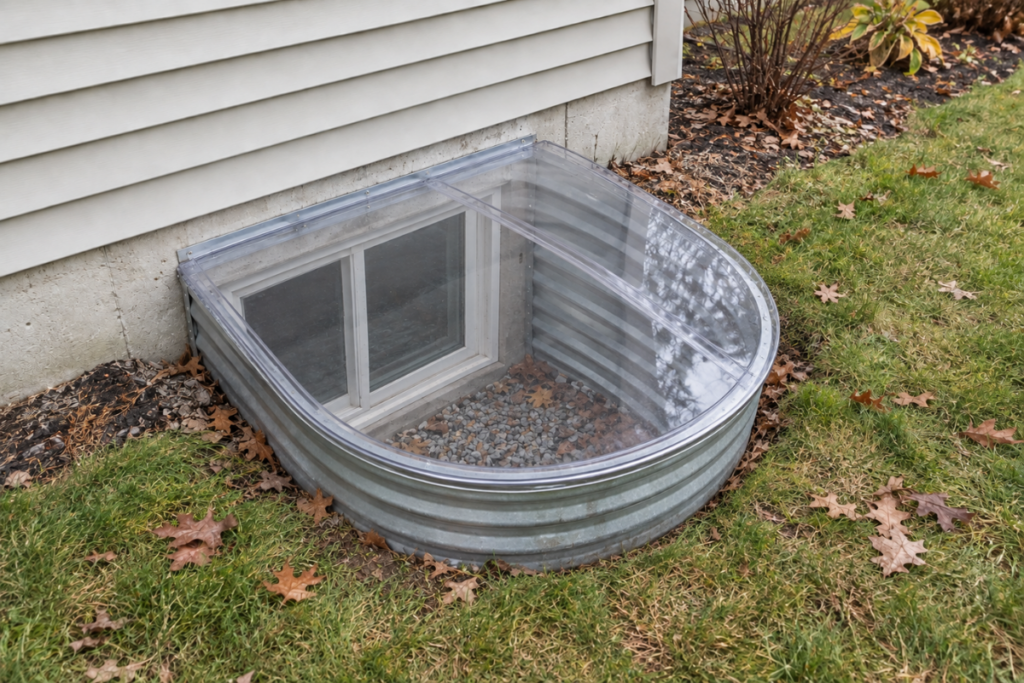
Clear accessible leaves and debris from basement window wells. Inspect covers for damage and make sure they are secure without interfering with an emergency escape window.
After a fall rain, walk around the foundation and look for standing water. Pay attention to low spots near steps, patios, and downspouts. Note any areas where water appears to flow toward the house.
A persistent puddle or recurring wet basement may require more than an extra bag of soil. Ask an appropriate professional to evaluate grading, drainage, or window-well problems before choosing a repair.
Fall is also a useful time to check a sump pump according to its manufacturer’s instructions. Confirm that the discharge route is clear and ask a professional about winter freeze protection if the outlet has caused trouble before. Do not disconnect the pump simply because winter is approaching.
5. Inspect the Roof and Exterior Before Snow Hides Problems

Look from the ground for missing shingles, visibly damaged flashing, loose siding, and gutters pulling away from the house. Inside, check for new ceiling stains or signs of moisture around upper-floor windows.
Have a qualified professional investigate concerns while the affected areas are accessible. Take photographs and keep repair records so you can track what was addressed.
If your home repeatedly develops ice dams, include an attic evaluation in your fall planning. Clean gutters alone do not correct the underlying problem. Heat escaping from the house can melt roof snow, which then refreezes along colder edges. An attic evaluation can identify air leaks and insulation problems that contribute to that heat loss.
Follow product instructions for exterior repairs. Sealants and coatings have application-temperature requirements, so a dry afternoon may still be too cold for a particular product.
6. Seal Drafts Around Windows and Doors
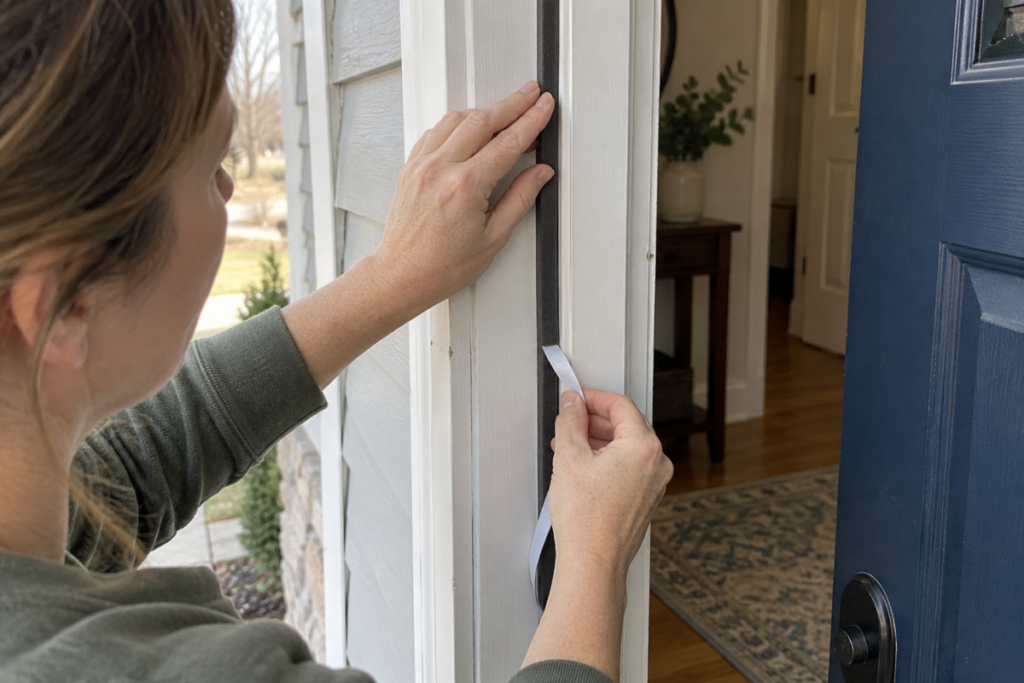
Check entry doors, patio doors, and windows for worn weatherstripping, damaged seals, and visible gaps. Close each door and look for daylight around the edges. Inspect the sweep along the bottom, especially at frequently used entrances.
Replace worn weatherstripping where moving surfaces meet. Use appropriate caulk for stationary gaps, following the product’s surface-preparation and temperature instructions.
Do not cover intentional window drainage openings or equipment vents. A window that will not close properly may need an adjustment or repair rather than another layer of caulk.
If you use storm windows, check that they close and latch correctly. Persistent drafts or uncomfortable rooms can also be a reason to schedule a home energy assessment. Small repairs help, but they may not address larger insulation or air-leakage problems.
7. Prepare Trees and Landscaping for Cold Weather
Look for broken branches or weak limbs over the house, driveway, and walkways. A qualified tree-care professional can assess larger hazards and recommend appropriate work.
Avoid treating fall cleanup as a reason to prune every tree and shrub heavily. Pruning timing depends on the plant and the purpose of the work. Hire a qualified professional for large-tree pruning.
Monitor soil moisture around newly planted trees and shrubs during dry weather. They may still need watering before the ground freezes, even after the sprinkler system has been shut down. Water according to the plant’s needs and soil conditions rather than a fixed calendar.
Check young trees for appropriate protection against rabbits, rodents, and winter injury. Keep mulch away from direct contact with trunks, and inspect existing guards to make sure they are not too tight.
Finally, keep leaves from blocking drainage routes, steps, and walkways. You do not need to strip every garden bed bare, but access and water movement deserve attention.
8. Put Away Patio Items, Containers, and Seasonal Equipment

Clean and dry cushions, umbrellas, and fabrics before storage. Secure lightweight furniture and decorations that could blow into doors, windows, or walkways.
Empty and store containers that are vulnerable to cracking when trapped water freezes. Follow care instructions for fountains, pumps, and other outdoor water features rather than assuming that draining the visible basin is enough.
Prepare lawn equipment according to the manufacturer’s storage instructions. Fuel, batteries, and maintenance needs vary by machine. Store chemicals and other supplies according to their labels, including temperature restrictions.
Clean the grill and secure its cover. Do not move propane cylinders into the house or other enclosed indoor storage areas.
Put away hoses, tools, and toys before snow conceals them. Keep the route to utility equipment and the electrical panel accessible.
9. Arrange Snow Removal and Prepare Walkways
Contact your snow-removal provider before the first storm. Confirm the service area, pricing, and how much snowfall triggers a visit. Ask whether sidewalks, steps, ice treatment, and the ridge left by street plows are included.
Also clarify how visits are handled during a long storm. Knowing whether the provider returns after additional accumulation can help you plan access to the driveway and entrances.
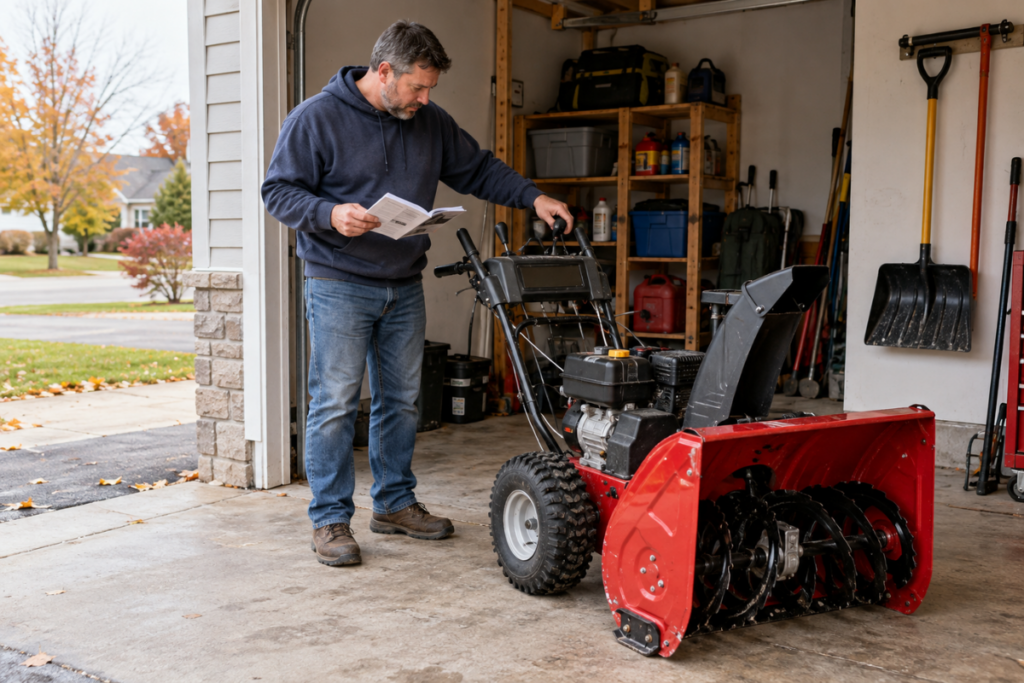
If you handle snow yourself, test the snowblower and follow its maintenance instructions. Set out shovels and traction supplies where you can reach them without crossing an icy driveway.
Choose ice-melt products suited to your surfaces and landscaping, and follow application directions. More product is not automatically more effective.
Before the ground freezes, mark driveway edges and obstacles where appropriate. Check exterior lighting, repair loose handrails, and decide where snow can be piled without blocking vents, hydrants, or drainage routes.
10. Confirm Association Responsibilities and Keep Service Contacts Ready

If you live in a townhome or condominium, review which seasonal tasks your association handles. Gutter cleaning, exterior repairs, and snow removal may be covered, but the exact responsibilities depend on your community’s documents.
Ask who clears your front steps, walkway, and driveway. Report drainage issues or damaged exterior components before snow makes them harder to inspect.
For any property, keep a simple service-contact list with company names, phone numbers, appointment dates, and notes. Include sprinkler winterization, snow removal, heating service, plumbing, and other providers you regularly use.
Record what was completed and what still needs attention. A dated invoice or short note is more useful next fall than trying to remember which company came out or whether a repair was finished.
Finish Fall Preparation, Then Keep Up With Winter Checks

Once the outdoor work is complete, move to the indoor tasks that support a safe heating season. Our Minnesota winter home maintenance guide covers furnace service, fireplace preparation, smoke and carbon monoxide alarms, and winter emergency supplies.
Keep both your maintenance notes and service numbers accessible throughout the season. If you are considering selling next spring, use those records to identify repairs that still need attention before listing preparations begin.
For practical homeownership resources and guidance on buying, selling, or downsizing in the Northeast Twin Cities Metro, explore Betsy’s homeownership resources or contact Betsy to discuss your next steps.